Drying Fruit – Fun Activity to Do with Children
By: Marisa Bunning, CSU Extension Specialist
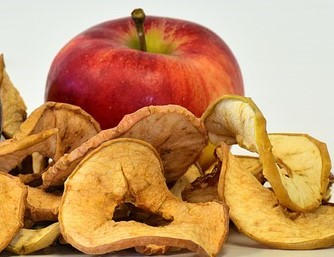
From preschool to high school, drying fruit can be a rewarding activity. It is a simple and safe introduction to preserving food and the end result is a healthy, tasty snack. Drying food, sometimes called dehydrating, is one way to make food last longer. Those bananas that need to be eaten very soon can instead be changed into banana chips for next week’s lunch. The process of dehydration can inspire creativity because dried fruit has very different flavors and textures compared to fresh fruit. Any type of fruit can be dried although some are a little easier to prepare than others. Making dried fruit can also help children feel comfortable working in the kitchen learning food skills.
Food Dehydrator – a Very Useful Tool

Fruit can be dried with an electric dehydrator set to 135-140°F. Water in food moves from areas of high moisture content to areas of lower moisture content. In a dehydrator, the combination of low heat and a fan speeds up this movement helping water to evaporate from the surface of fruit to the surrounding air in just a few hours. This helps to protect the flavor of fruit without spoiling. Food dehydrators are much more energy efficient than ovens. The cost of running a dehydrator for eight hours is about 96 cents. Several types of dehydrators are available for less than forty dollars and a dehydrator can be a very useful appliance. Besides drying fruit, they can be used to dry vegetables, chili peppers or herbs for use in soups or other dishes. They come in handy when apples, peaches, and plums are plentiful in the fall.
Ovens can be used for dehydrating but the door must be propped open for air movement, which heats up the kitchen. Additionally, many ovens cannot be set to temperatures below 170°F. Sun drying of fruit does not work well because the temperature is not consistent enough and the surrounding air may not be moving.
Let’s Talk

Explain to children that many of the things (bacteria, molds and yeasts) that cause fruit to turn yucky (spoil) need water to grow. By drying fruit, we can save it from turning yucky and can eat it later. When most of the water is gone, it will also weigh less making it easier to carry on a hike or a trip.
Learning food skills can have life-long benefits. Understanding a process and being comfortable with preparing food builds self-confidence. It is a “fruitful” way to put science into action.
Recipes for Health
A Good Introduction to Drying Fruit – Bananas and Grapes

Ingredients: grapes, bananas, apple juice
Equipment: Electric food dehydrator, dehydrator trays, cutting board, small knife, paper towels, small bowl, plastic container or jar
- Before starting, pull hair back and wash hands.
- Rinse the grapes under running water and lay on a paper towel or clean kitchen towel.
- Carefully cut grapes in half.
- Peel bananas and cut into 1/8 inch slices (putting bananas in the freezer for 10 minutes will make cutting easier).
- Put banana slices in small bowl with enough apple juice to cover them. This will help prevent browning. Wait 5 minutes, then remove and place on paper towel.
- While bananas are soaking, plug in the dehydrator and set to 135 or 140°F.
- Place fruit on dryer trays leaving space between pieces so they are not touching.
- Make a note of the time drying starts. It will take about 8 hours but it is a good idea to check every couple of hours.
- Fruit is ready when the pieces feel tough or they are hard to bend. They should be chewy but not brittle.
- An important last step is called conditioning. There is usually some moisture left in the fruit pieces. If you want to make the dried fruit last longer than a few days it’s important to evenly distribute the moisture so the fruit will not mold. After cooling, place dried fruit in a jar or plastic container so it is not more than two-thirds full. Put on the lid and store in a warm, dry place for 10-14 days, shaking or stirring the contents at least once a day. If you see signs of moisture on the lid, you will need to return the fruit to the dryer to finish the drying process. If you notice any signs of mold on dried fruit, it should be thrown away.
Tips for Success
- Start drying early in the day because it will take about 8 hours for grapes and banana slices to dry.
- After drying, have a tasting with both the dried fruit and fresh fruit. Ask about the differences in how the fruit tastes and looks.
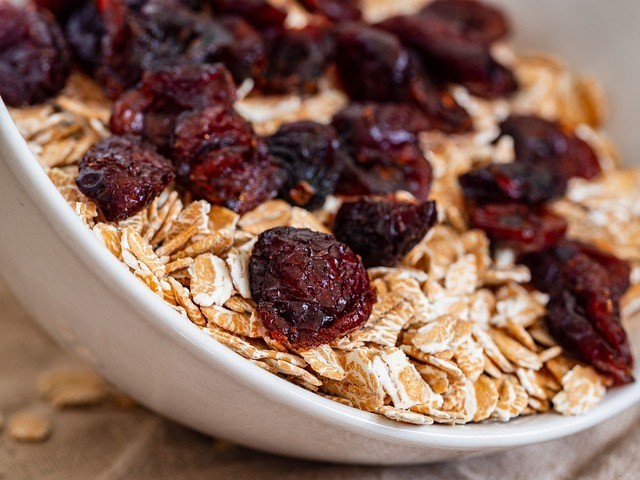
- Talk over ways to use dried fruit – like taking on a hike or mixing with cereal or yogurt.